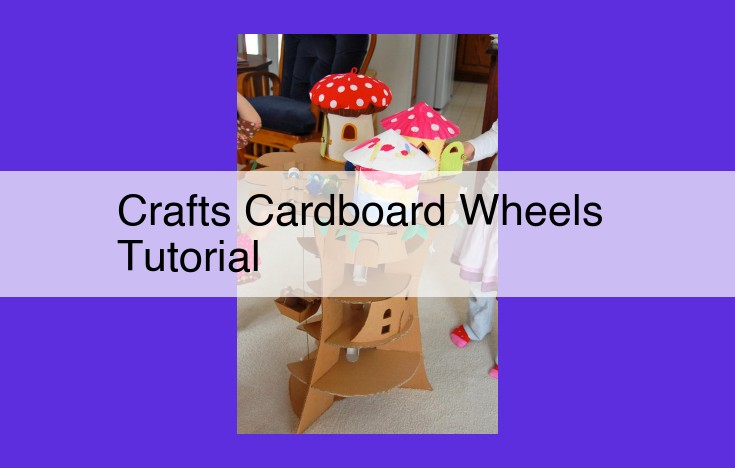
Cardboard Crafting Mastery: The Ultimate Guide To Creating Cardboard Wheels
Discover the magical world of cardboard crafting with our comprehensive “Crafts Cardboard Wheels Tutorial”! Learn the basics of cardboard, gather essential materials, and follow a step-by-step guide to craft your own cardboard wheels. Explore design techniques to customize your wheels, assemble them for stability, and find troubleshooting tips. Unleash your creativity with cardboard wheel projects that showcase the versatility and power of this everyday material.
The Enchanting World of Cardboard Crafts: Unleashing Your Inner Artist
Cardboard: A humble material often relegated to packaging and disposable uses. Yet, beneath its unassuming exterior lies a hidden realm of creativity. Welcome to the captivating world of cardboard crafts, where imagination soars and possibilities abound.
Unveiling the Magic of Cardboard
Cardboard, composed of paper layers fused, offers a versatile canvas for crafting enthusiasts. Its lightweight nature, malleability, and affordability make it an ideal medium for projects that ignite the imagination. Whether you’re a seasoned crafter or a curious novice, cardboard invites you to explore its boundless potential.
Key Terms: The Language of Cardboard
To navigate the world of cardboard crafts, let’s define some essential terms:
- Paper: The basic building block of cardboard, paper provides the strength and flexibility that make it suitable for crafting.
- Box: Cardboard’s most common form, boxes offer a sturdy framework for your creative endeavors.
- Kraft paper: A durable and versatile type of paper often used in cardboard production, known for its characteristic brown color.
Essential Materials and Tools for Cardboard Wheel Crafting
Embark on a creative adventure with cardboard wheel crafting! To delve into this engaging activity, you’ll need a carefully curated arsenal of materials and tools.
The Foundation: Cardboard
Choosing the perfect cardboard is crucial for durable wheels. Opt for thick, sturdy cardboard that can withstand manipulation without succumbing to tears or bending. This forms the core of your wheel, providing the necessary strength.
The Adhesive Duo: Glue and Tape
Strong adhesives are the backbone of your cardboard wheels. Select a glue that bonds securely and dries clear, allowing for a seamless finish. Consider using a combination of glue and tape for enhanced durability. Tape provides temporary support while the glue sets, ensuring your wheels remain firmly in place.
Precision Instruments: Scissors and Markers
Sharp scissors are essential for precise cardboard cutting. They enable you to create clean edges and intricate shapes. Don’t forget markers or colored pencils to add your personal touch. They allow you to decorate and customize your cardboard wheels, transforming them into unique works of art.
Crafting the Cardboard Wheels:
Prepare to embark on a crafting adventure where cardboard transforms into the very foundation of rolling wonders – cardboard wheels. Let’s delve into the realm of creativity, where imagination meets the power of humble cardboard.
Laying the Foundation:
-
Gather the Essential Tools:
- Cardboard: Corrugated or plain cardboard provides a sturdy base for your wheels.
- Glue: Choose a strong adhesive, such as wood glue or hot glue, to ensure a secure bond.
- Scissors: Sharp scissors will help you cut precise shapes out of cardboard.
- Markers or Pencil: Outline your designs and mark measurements with ease.
-
Understanding the Anatomy of a Wheel:
- Rim: The outer edge of the wheel that supports the tire.
- Spokes: Rods or strips that connect the rim to the hub.
- Hub: The central part of the wheel where the axle passes through.
- Tire: The rubber or other material that surrounds the rim and provides traction.
Step-by-Step Guide to Crafting Cardboard Wheels:
-
Create the Rim: Cut a circle out of cardboard for the rim. Its size will determine the diameter of the wheel.
-
Shape the Spokes: Cut strips of cardboard and glue them between the rim and a smaller circle cut out for the hub.
-
Connect the Spokes: Join the free ends of the spokes to the hub, creating a sturdy support system for the rim.
-
Form the Tire: Cut a strip of cardboard wide enough to wrap around the rim. Glue it in place, tucking the ends under the rim.
-
Reinforce the Structure: Glue additional strips of cardboard around the perimeter of the wheel, both on the inside and outside, for extra strength.
Visual Aids for Clarity:

Refer to this diagram throughout the crafting process to visualize the components of the cardboard wheel and their relationships.
Tips for Success:
- Choose sturdy cardboard: Corrugated cardboard with multiple layers offers greater stability.
- Measure carefully: Precise measurements ensure a smooth-rolling wheel.
- Apply glue generously: Use enough glue to create a secure bond between cardboard layers.
- Allow drying time: Let the glue dry completely before handling the wheels to prevent loosening or detachment.
- Experiment with designs: Explore different spoke patterns, rim shapes, and tire widths to create unique wheels.
Design and Customization: Unleash Your Creativity on Cardboard Wheels
In the realm of cardboard wheel crafting, design reigns supreme. It’s your chance to transform ordinary cardboard into extraordinary works of art. Embrace your imagination and let your wheels become canvases for your creative flair.
Adorn your wheels with embellishments such as sequins, glitter, or ribbons. Create intricate ornaments from paper, fabric, or even recycled materials. The possibilities are endless.
Consider the aesthetics of your wheels. Wheel designs come in all shapes and sizes. Draw inspiration from sleek car wheels, classic wagon wheels, or intricate bicycle wheels. The choice is yours.
Play with color and patterns to add visual interest. Use bright and bold hues to create a captivating look or opt for subtle and muted tones for a more sophisticated touch.
Experiment with design techniques. Try decoupage to adhere intricate patterns onto your wheels. Use paper mache to sculpt and mold your wheels into unique shapes. Create mosaics by gluing small pieces of paper, fabric, or other materials onto your wheels.
Embrace the beauty of cardboard and let your designs reflect its versatility. Transform your cardboard wheels into whimsical works of art that will delight you and inspire others.
Assembly and Finishing: The Key to Durable Cardboard Wheels
The Final Stretch: With your cardboard wheels meticulously crafted, the assembly stage beckons. This crucial step will determine the durability and stability of your creations.
Adhesive Bonding: Grab your trusty glue and select the strongest adhesive you can find. Generously apply glue to the mating surfaces of your wheel components, aligning them carefully. Gently press and hold until the glue sets.
Reinforcement Techniques: Fortified wheels are essential for withstanding the rigors of play or display. Consider reinforcing your wheels with additional layers of cardboard, using glue or cardboard strips as reinforcement. This extra support will ensure your wheels remain sturdy and true.
Creative Sealing: Once your wheels are assembled, seal them with a layer of paint or other protective coating. This will shield them from dirt, moisture, and wear, extending their lifespan.
Tips and Tricks for Cardboard Wheel Crafting
Troubleshooting Common Mistakes
- Remember the Rotation: Ensure the wheels are attached to the axle properly to allow for smooth rotation.
- Avoid Warping: Use sturdy cardboard and apply glue evenly to prevent warping.
- Secure Connections: Use plenty of glue and let it dry completely to ensure firm connections.
Creative Ideas for Cardboard Wheel DIYs
- Decorative Accents: Unleash your creativity by adorning cardboard wheels with vibrant colors, patterns, and embellishments.
- Toy Cars: Craft imaginative toy cars by attaching cardboard wheels to cardboard chassis.
- Windmills: Create charming windmills by securing cardboard wheels on a spinnable rod.
- Art Projects: Transform cardboard wheels into unique canvases for painting, drawing, or creating abstract artwork.
Additional Tips for Success
- Experiment with Different Cardboards: Try using various types like corrugated, Kraft, or double-walled cardboard to explore different textures and strength.
- Use Strong Adhesives: Opt for adhesives like hot glue, wood glue, or epoxy for a secure hold.
- Reinforce Joints: For extra durability, reinforce joints with masking tape or fabric strips.
- Share Your Creations: Inspire others by sharing your cardboard wheel projects on social media or with friends and family.