Mastering Breaker Bar Usage: A Guide To Safety, Selection, And Technique
- Understand the tool’s purpose, components, and safety precautions. 2. Select the appropriate socket size and type for the task, and consider using an extension for added reach. 3. Apply torque by positioning the breaker bar correctly and applying pressure in a controlled manner.
Understanding the Breaker Bar: A Tool for Unwavering Strength
In the realm of tools, the breaker bar reigns supreme as an indispensable force for tackling stubborn nuts and bolts. Designed to break free rusted or seized fasteners, its robust construction and ingenious mechanism empower users with incredible leverage and unwavering strength.
Anatomy of a Breaker Bar
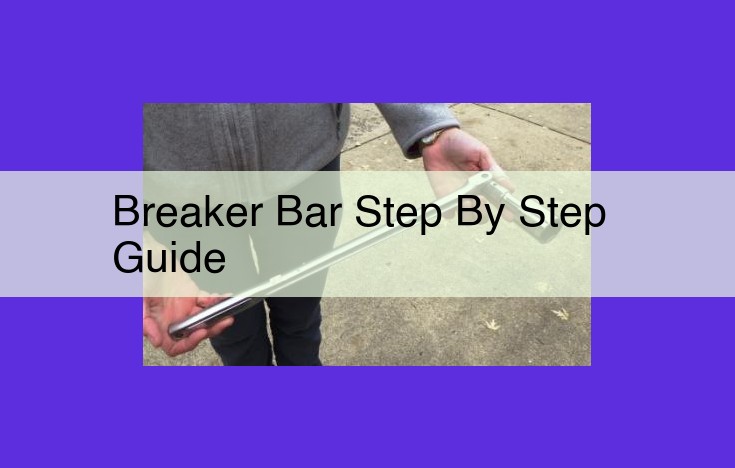
A breaker bar is an elongated, tubular steel bar with a square drive at one end. The square drive allows for the attachment of interchangeable sockets, providing versatility for a range of bolt sizes. On the other end is a T-handle or a sliding handle designed for optimal grip and comfort, enabling users to apply maximum force with ease.
Components of a Breaker Bar
- Head: The square drive that accommodates the sockets.
- Tube: The elongated, sturdy steel bar that serves as the lever for applying force.
- Handle: The ergonomic T-handle or sliding handle that provides a comfortable grip.
- Knurl: A textured surface on the handle for enhanced grip and control.
- Extension Points (Optional): Additional openings near the handle for attaching extensions, increasing the overall length and leverage.
Safety First: Essential Precautions for Using a Breaker Bar
When tackling automotive tasks, safety should always be your top priority. Using a breaker bar, a powerful tool designed to loosen stubborn nuts and bolts, requires particular attention to safety measures. Here’s an in-depth guide to ensure your safety while using this versatile tool:
Importance of Safety Precautions
Neglecting safety when operating a breaker bar can lead to serious injuries. The immense force generated can cause the bar to slip, potentially striking you or nearby objects. Additionally, improper handling can damage the tool or the components you’re working on.
Proper Handling Techniques
- Use the correct socket: Always select a socket that fits the fastener snugly. Avoid using adapters or damaged sockets, as they can compromise the tool’s stability.
- Secure the breaker bar: Grip the breaker bar firmly with both hands, positioning them at least a foot apart. Ensure your grip is secure to prevent the bar from twisting unexpectedly.
- Position your body correctly: Stand with your feet shoulder-width apart and your back straight. Avoid leaning into the breaker bar, as this can put excessive strain on your body.
Protective Gear
- Safety glasses: Protect your eyes from flying debris or metal fragments that may break off while using the breaker bar.
- Gloves: Wear thick, non-slip gloves to prevent hand injuries from sharp edges or blisters from extended use.
- Closed-toe shoes: Wear sturdy shoes with closed toes to protect your feet from falling objects or slipping on oily surfaces.
Remember, safety should never be compromised when using a breaker bar. By adhering to these precautions, you can minimize the risk of accidents and ensure a safe and successful repair experience.
Choosing the Right Socket for Your Breaker Bar
When embarking on a project that requires the use of a breaker bar, selecting the correct socket is paramount to ensure efficiency and safety. Breaker bars can accommodate various socket types, each designed for specific applications.
Types of Sockets
- Standard Sockets: Suitable for common bolt and nut sizes, standard sockets come in metric and imperial standards. They are versatile and can be used with most breaker bars.
- Deep Sockets: Extended in length, deep sockets are ideal for reaching recessed or hard-to-reach bolts and nuts.
- Impact Sockets: Engineered to withstand the high torque forces generated by impact wrenches, impact sockets are not interchangeable with breaker bars.
Compatibility Considerations
It’s essential to ensure that the socket you choose is compatible with your breaker bar’s drive size. Common drive sizes for breaker bars include ½-inch, ¾-inch, and 1-inch. The socket’s drive hole must match the size of your breaker bar’s drive.
Selecting the Correct Size
In addition to compatibility, it’s crucial to select a socket that fits snugly over the bolt or nut you are working with. Avoid using sockets that are too loose, as they can slip and cause damage to the fastener or the breaker bar. Measure the bolt or nut head across the flats to determine the correct socket size.
Special Purpose Sockets
For specialized applications, consider using special purpose sockets such as:
- Six-point sockets: Designed to grip fasteners securely, reducing the risk of rounding off corners.
- Spline sockets: Distribute force evenly around the bolt head, preventing damage to the fastener.
- Crowfoot sockets: Enable access to bolts and nuts in tight spaces where a standard socket cannot fit.
Remember, using the correct socket not only enhances your efficiency but also ensures safety by preventing accidents and equipment damage. Take the time to choose the right socket for your breaker bar and your project will progress smoothly.
Using an Extension with a Breaker Bar: Benefits and Safety Considerations
When tackling stubborn bolts or nuts, a breaker bar often proves indispensable. However, in certain situations, an extension can further enhance its reach and leverage. While extensions offer advantages, they also come with potential drawbacks. Understanding these factors is crucial for safe and effective use.
Benefits of Using an Extension with a Breaker Bar
- Increased Reach: Extensions add length to the breaker bar, extending your reach into tight or awkward spaces. This allows you to access bolts and nuts that might otherwise be difficult or impossible to reach directly with the breaker bar alone.
- Improved Leverage: By lengthening the breaker bar’s handle, an extension increases the leverage available. This means you can apply more force to the bolt or nut with less effort.
Drawbacks of Using an Extension with a Breaker Bar
- Reduced Torque: It’s important to note that adding an extension reduces the torque applied to the bolt or nut. This is because the force exerted through the breaker bar is spread over a longer distance.
- Potential Wobble: Longer extensions can introduce some wobble into the system, potentially making it harder to apply precise force.
How to Attach and Remove an Extension Safely
- Inspect the Extension: Before using an extension, thoroughly inspect it for any damage or cracks. Do not use a damaged extension as it could fail under load.
- Align the Extension: Hold the extension in line with the breaker bar and insert it straight into the drive socket.
- Secure the Extension: Use a locking mechanism or a retaining pin to secure the extension firmly to the breaker bar. Check for any play or looseness.
- Reverse the Process for Removal: After use, disconnect the extension by depressing the release mechanism or removing the retaining pin. Carefully withdraw the extension from the breaker bar.
Understanding Torque: The Key to Effective Breaker Bar Usage
When it comes to breaking free stubborn bolts and nuts, torque is the name of the game. Torque is a rotational force that is applied to an object to cause it to rotate. In the realm of breaker bars, understanding torque is crucial to maximizing their effectiveness and ensuring safety.
Definition and Importance of Torque
Torque is measured in newton-meters (Nm) or foot-pounds (ft-lbs). It refers to the amount of force required to turn an object around a pivot point. In the case of a breaker bar, the pivot point is the center of the bolt or nut being loosened. The greater the torque applied, the easier it is to break free the fastener.
Factors Affecting Torque in a Breaker Bar
Several factors affect the amount of torque that a breaker bar can generate:
- Length of the breaker bar: A longer breaker bar provides more leverage, resulting in increased torque.
- Angle of the breaker bar: The closer the angle of the breaker bar to perpendicular with the fastener, the greater the torque.
- Weight of the breaker bar: A heavier breaker bar can provide more force and, therefore, more torque.
- Surface condition of the breaker bar (clean/rusty): Surface condition can affect grip and therefore the amount of torque that can be applied.
- Condition of the socket: A worn or damaged socket can reduce torque transmission.
- Tightness of the fastener: The tighter the fastener, the greater the torque required to break it loose.
Optimizing Torque for Effective Use
To maximize torque output, consider the following tips:
- Choose the longest breaker bar practical for the task.
- Position the breaker bar perpendicular to the fastener as much as possible.
- Use the weight of the breaker bar to your advantage by applying downward pressure.
- Ensure the socket fits snugly on the fastener and the breaker bar.
- Apply slow, steady pressure to avoid shock or breakage.
Understanding torque is essential for effectively using a breaker bar. By considering the factors that affect torque, you can optimize its use and tackle even the most stubborn fasteners with confidence.
Step-by-Step Guide to Using a Breaker Bar
Selecting the Socket and Attachment
Before diving into the task, you’ll need to choose the right socket that corresponds to the size and shape of the fastener you’re working on. Ensure it fits snugly onto the breaker bar to avoid slippage and potential accidents. Once you have the socket in hand, securely attach it to the square drive end of the breaker bar by turning it clockwise.
Positioning and Applying Pressure
Now, it’s time to get your breaker bar in position. Grip the handle firmly with both hands, keeping your elbows tucked in for stability. Position the socket over the fastener and apply steady pressure by pushing downward on the handle. As you push, you’ll feel the resistance of the fastener gradually giving way.
Breaking the Bolt
Continue applying pressure with controlled and even force. Don’t rush the process as sudden movements can cause the breaker bar to snap or injure you. If you encounter resistance, gradually increase the pressure. With enough force, the fastener will finally break loose, allowing you to complete your task.
Removing the Breaker Bar
Once the fastener is loose, it’s time to remove the breaker bar. Reverse the direction of rotation by turning the handle counterclockwise, and carefully detach the socket from the fastener. Store the breaker bar and socket in a safe place for future use.